初探Ingest Management Part1
以前我自己在使用Elastic Stack的時候都會遇到管理大量Beats的問題,雖然可以使用Ansible來派送設定檔,但是對於部署的Beats很難知道他們到底還有沒有活著,以及有沒有正確的傳送資料回來,有時還需要藉助第三方工具來監控,例如Zabbix。
Elastic Stack在6.5釋出了Beats Management,這個功能可以解決大量部署與管理Beats的問題,當時感覺這個功能終於可以使用了,但需要Gold以上的License才能夠使用。
而7.8釋出了Ingest Management,依據官方說法是重新改寫了Beats Management,後續將會以Ingest Management為主要發展,並且Basic License就可以使用,詳細可以參考官方Blog說明。
目前截至7.9.2還是實驗版本,不建議使用在正式環境,而且也沒有提供版本升級資料遷移功能,所以建議先測試使用就好。
接下來就Step by Step來說明
Enable TLS function
一開始的需求是要先將整個Elastic Stack環境啟用Transport Layer Security
強烈建議一定要啟用TLS以及Authentication,因為實在是有太多因為misconfiguration而造成資料外洩
Create certificate instance
首先建立一個instances.yml檔案,並記錄個節點要產出certificate的相關資訊
1 | instances: |
執行產出各個憑證,並壓縮成bundle.zip
1 | $ bin/elasticsearch-certutil cert --silent --pem --in config/certificates/instances.yml -out /certs/bundle.zip |
Secure Elasticsearch
編輯elasticsearch.yml,加入以下參數並且用剛剛產生的certificates來啟動TLS
1 | xpack.security.enabled: true |
Secure Kibana
編輯kibana.yml,加入以下參數啟動secure及ingestManager功能
1 | xpack.security.enabled: true |
配置好相關設定後可以在Kibana UI -> Management -> Ingest Manager看到相關的畫面。

Ingest Management overview
絕大部分的端點管理架構都是以Server/Agent為基礎,Agent透過pull/push的方式來向Server獲取資訊,Ingest Management也是以這個基礎來建構,目前主要分為Elastic Agent及Ingest Manager。
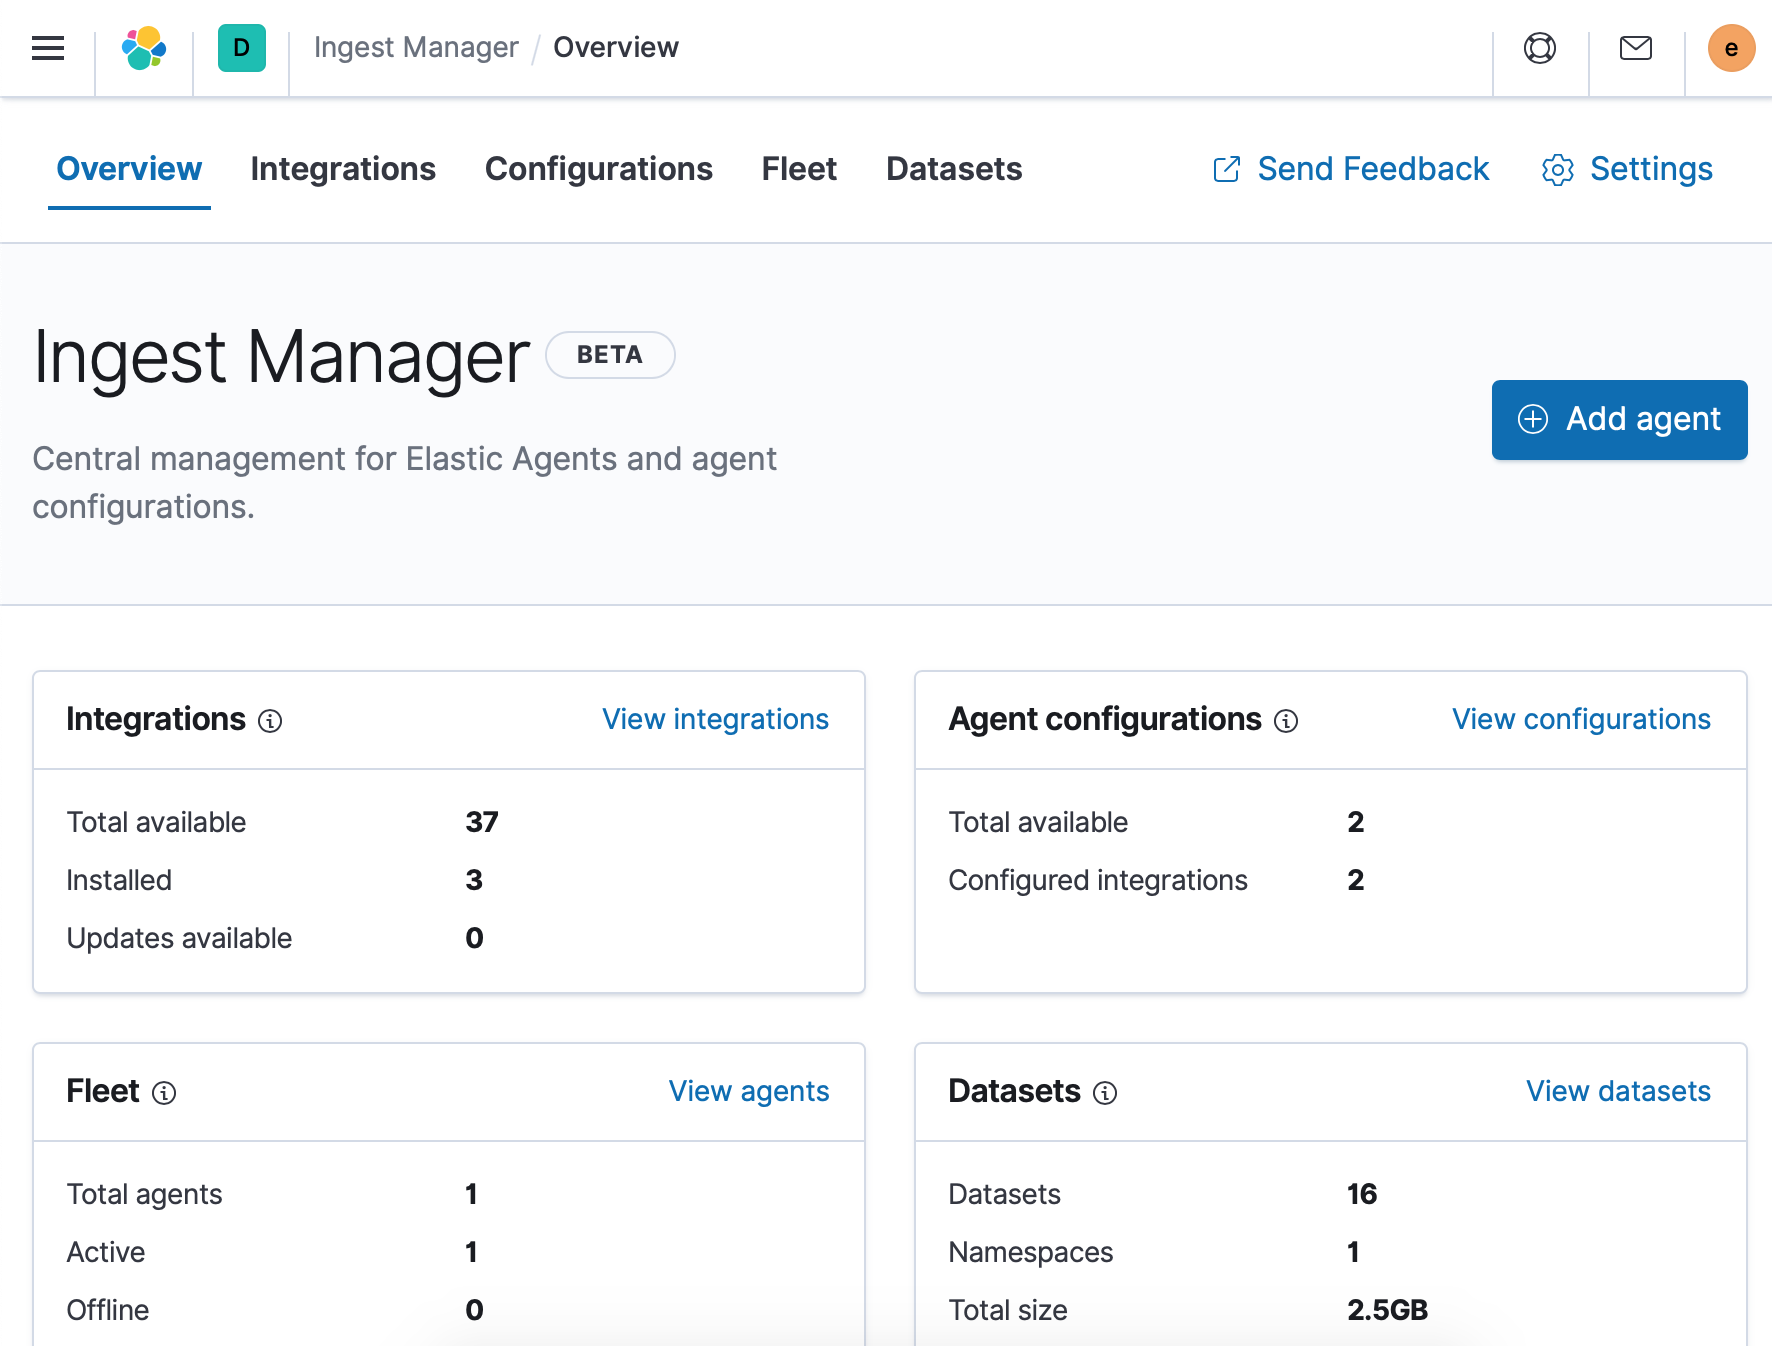
在Ingest Manager上方分別為
- Overview: 呈現各項統計資訊。
- Integrations: 提供官方目前的整合工具,可供安裝並套用在Config裡。
- Configurations: 可以設定多個config,並搭配Integrations,部署到所需的Agent。
- Fleet: 管理Fleet mode的Agent。
- Datasets: 統計agent所產生出的data schema。
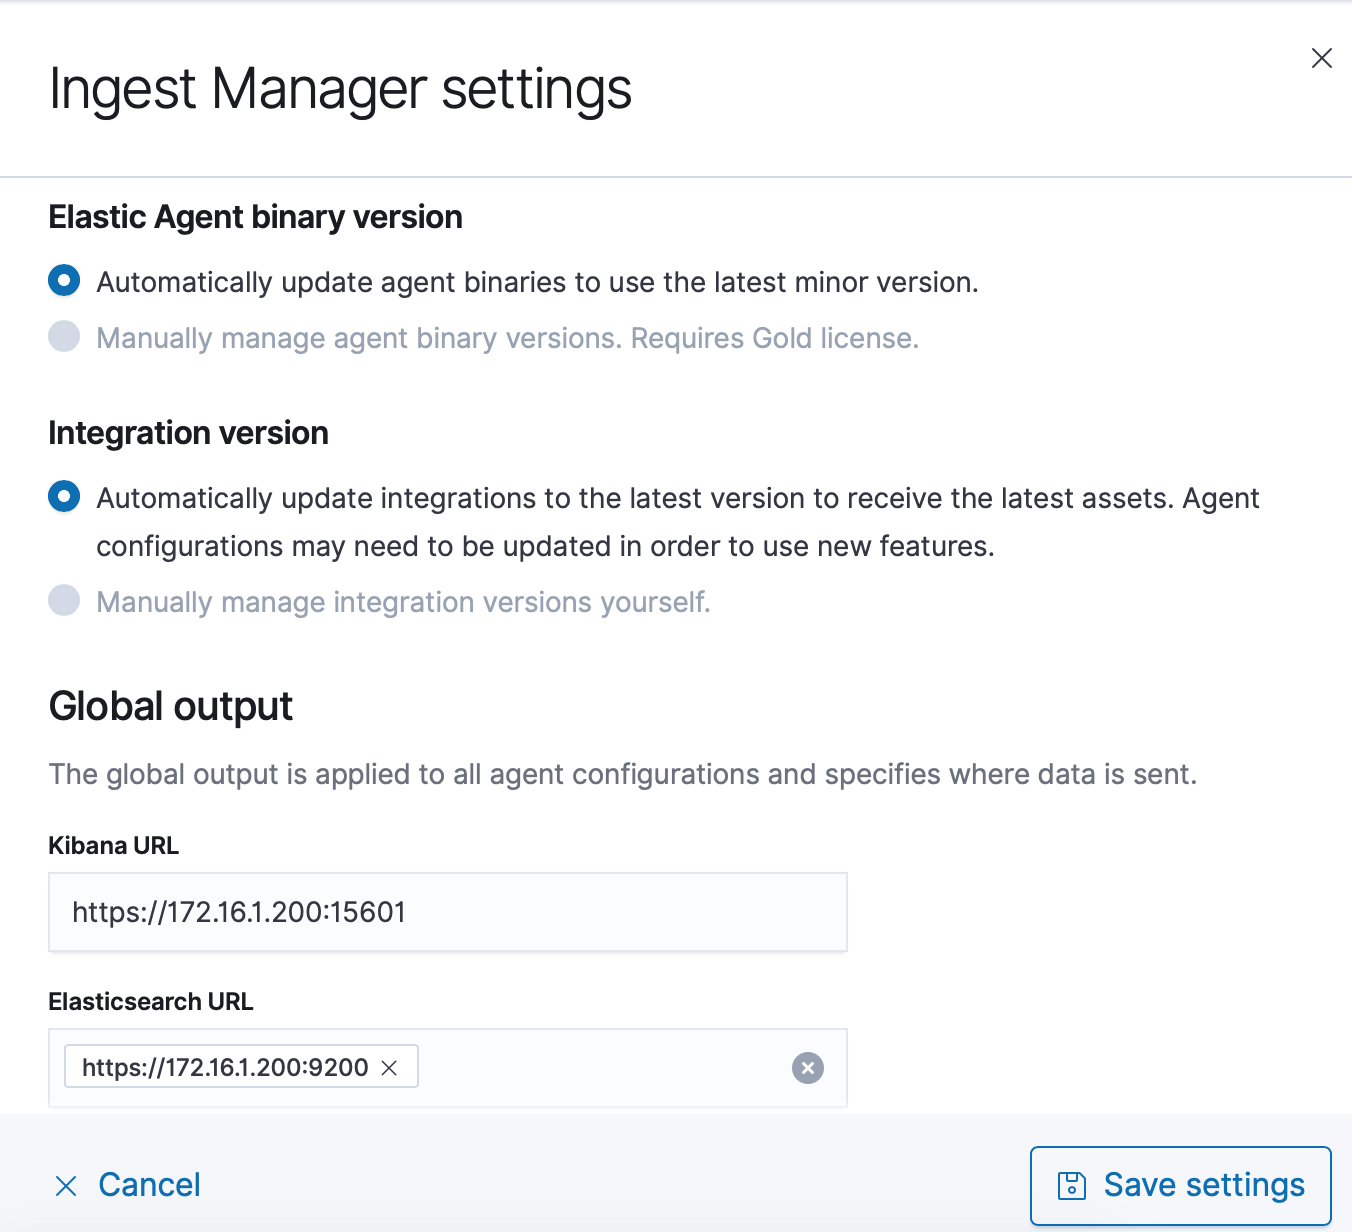
- Settings: Global config。 很重要,一定要先設定好

Settings
重新設定好Kibana URL及Elasticsearch URL

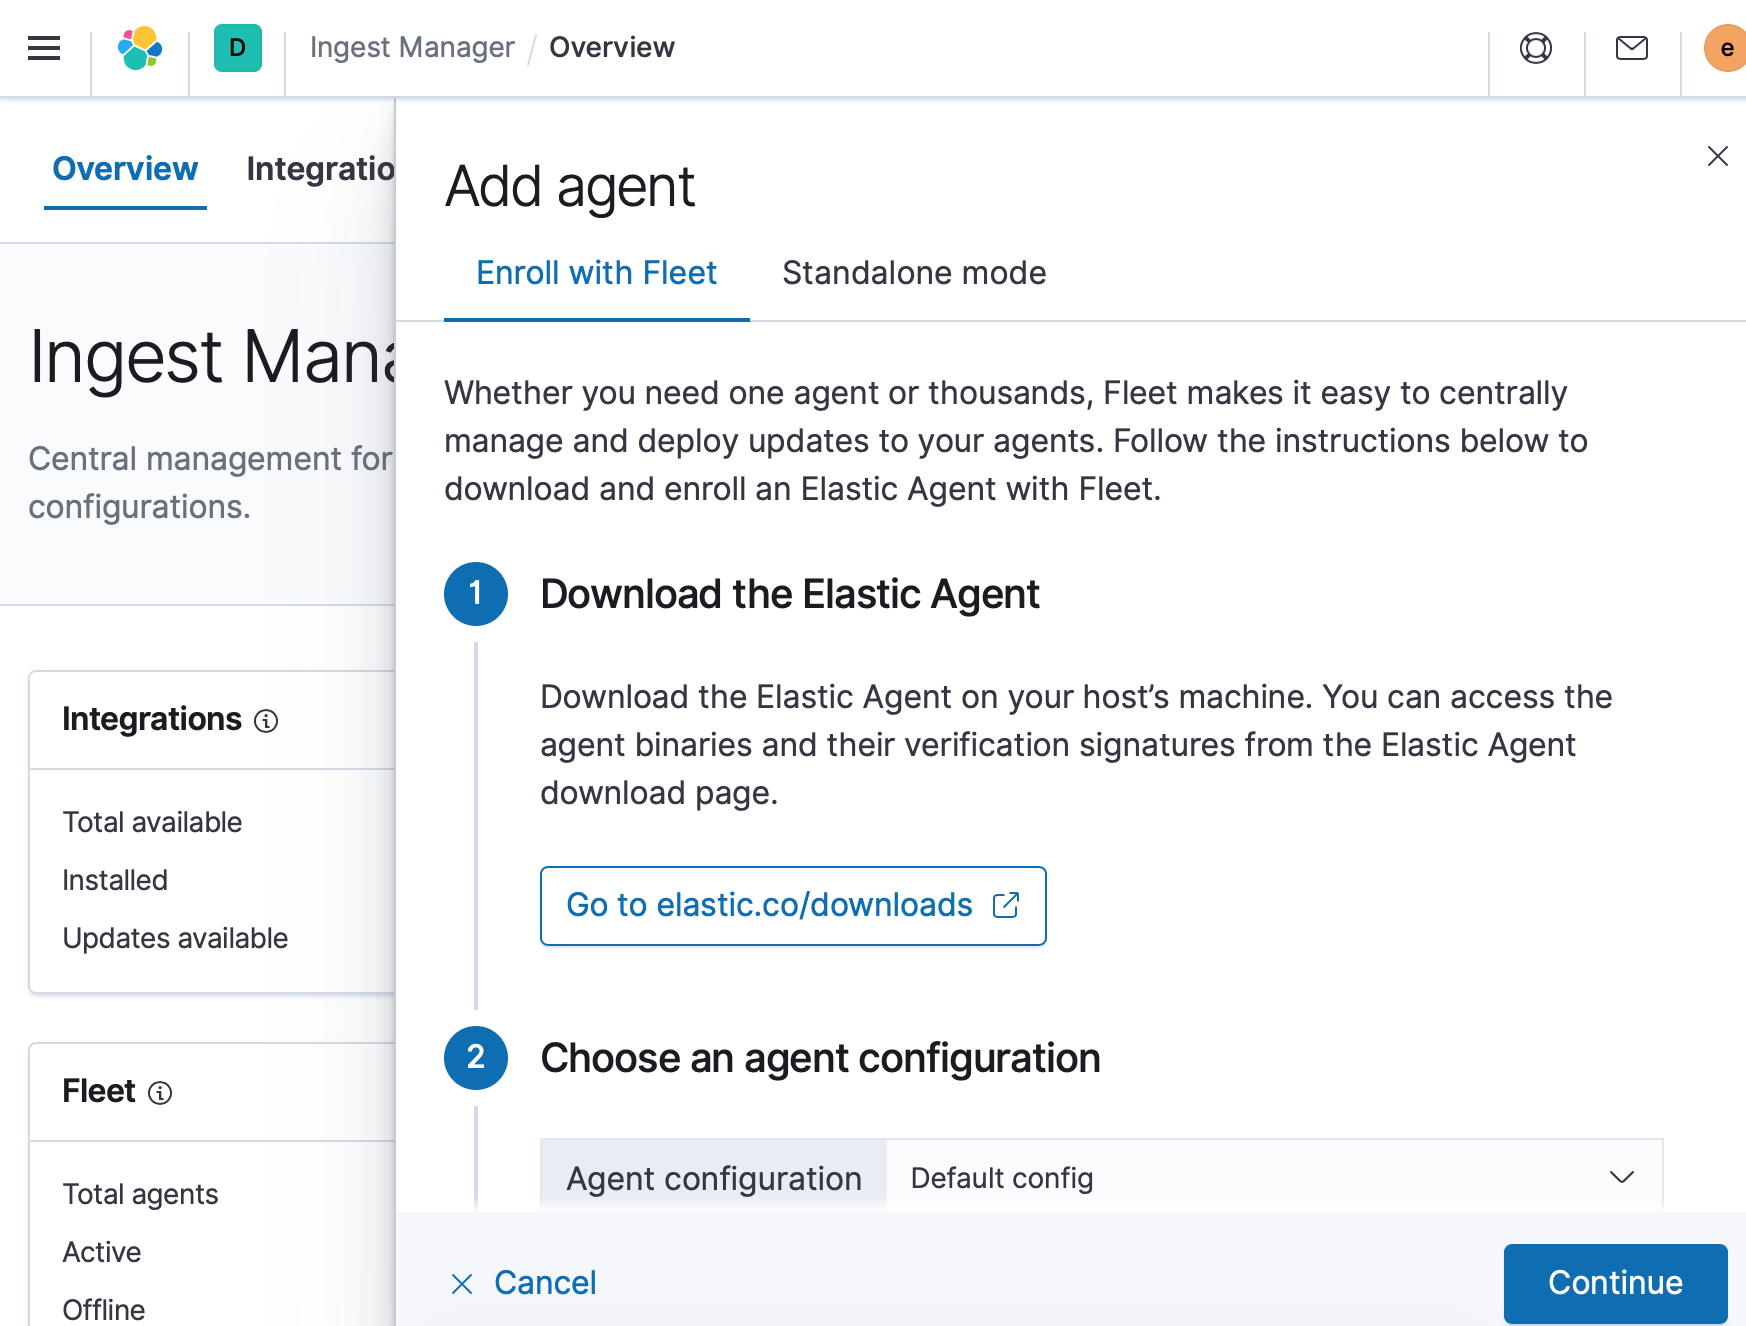
Add Agent
部署Elastic Agent的方式可以從Kibana上面的引導來配置

配置上有區分Fleet及Standalone兩種mode,Fleet mode能讓Kibana UI對Agents做到自動化的變更管理,而Standalone mode只是產出config,並需自行手動設定至Agent。
選擇好相關設定就可以至Server下載Elastic Agent並執行enroll
1 | $ elastic-agent enroll https://<Kibana URL>:5601 <token> --insecure |
執行完後就可以看到成果了
Important Tips
整個安裝過程如果是使用第三方公正外部憑證,其實照著做就會成功,但如果是self signed certificate就會遇到很多問題,這裡大概提一下解法。
- elastic agent enroll use --insecure
elastic agent要回報至ingest manager時的enroll指令要加上–insecure
- agent server install self signed CA certificate
這一步我卡了很久才發現,要把instance所產生的ca certificate安裝至agent server裡的trust ca list裡,否則agent會一直回報certificate signed by unknown authority.